How to Set Up Breyta SSH on a VPS or VM
By Andreas Flakstad • Published 2026-03-16
Integrate Breyta with your existing infrastructure using SSH. This guide covers setup for running coding agents, deploy scripts, and long-running workers on your self-managed Linux VPS or VM.
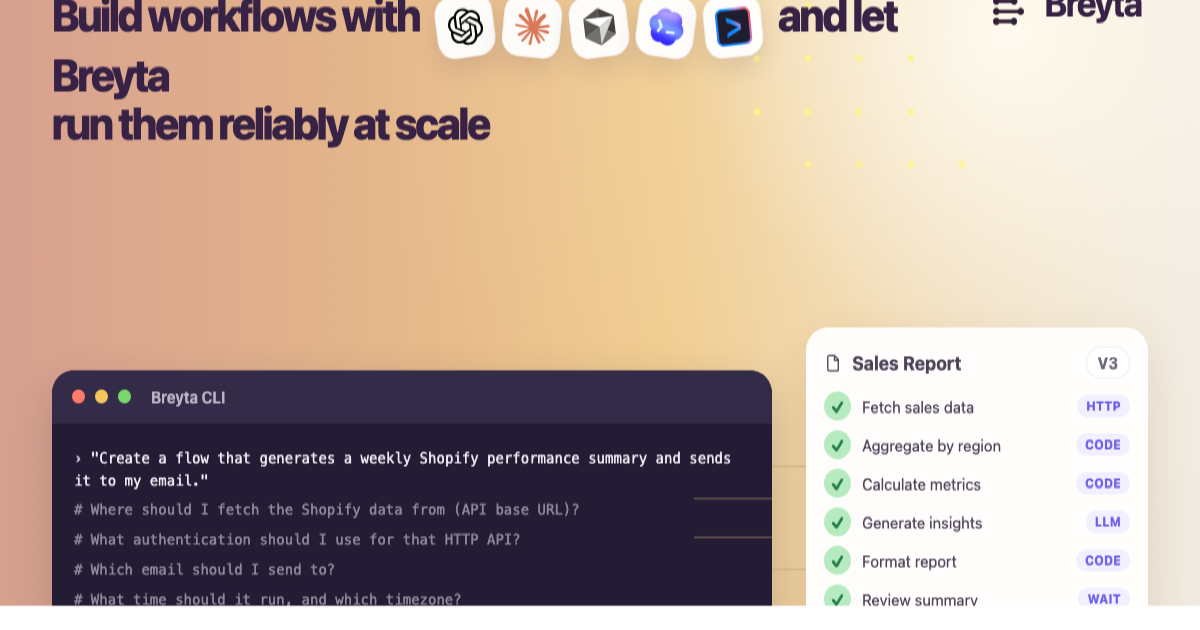
If you want Breyta to run work on infrastructure you already control, the simplest integration is SSH.
One of the most common reasons to use it today is to run coding agents such as Codex CLI, Claude Code, Gemini CLI, or similar tools on a VPS or VM you control. The same pattern also works for deployment scripts, long-running workers, and other remote jobs you want Breyta to orchestrate from the outside.
If you want the full CLI-first runbook version alongside this article, use the companion guide: Set Up A VPS Or VM For Breyta SSH. This post keeps the practical detail, but it is organized more around decisions and failure-proof setup.
Quick Answer
Yes, Breyta can use a VPS or VM over SSH.
What Breyta actually needs is:
- a self-managed Linux VPS or VM
- a public hostname or public IP
- inbound SSH access
- a Linux user Breyta can log in as
- a private key that already works for direct SSH
- a
known_hostsentry for host verification - a flow or copied template that exposes an SSH slot and the secret slots needed for the key material
The safest setup path is:
- Make direct SSH work locally first.
- Capture
known_hostsand verify the host fingerprint. - Store the key and
known_hostsin Breyta. - Create the SSH connection.
- Bind it to the flow.
- Run a small smoke test such as
uname -a.
For short commands, a single sync :ssh step is enough. For long-running work, use :ssh to start the job and :wait for the callback.
Most SSH failures come from a mismatch between what worked locally and what was actually stored in the flow.
A Concrete Example
One common setup looks like this:
- Breyta receives a request to analyze or change a repository.
- The flow connects to your VM over SSH.
- It starts a Codex CLI, Claude Code, or Gemini CLI worker on that machine.
- The worker keeps running on the VM for several minutes.
- The worker POSTs the result back to Breyta, and the
:waitstep completes.
Breyta Flow
    |
    | SSH
    v
+---------------------------+
| VPS / VM                  |
|                           |
| Codex CLI / Claude Code   |
| Gemini CLI / deploy jobs  |
| Background workers        |
+---------------------------+
            |
            | HTTPS callback
            v
      Breyta :wait step
When SSH Is The Right Tool
SSH is a good fit when you already have a machine you trust and you want Breyta to orchestrate work there instead of rebuilding the same environment inside another runtime.
That usually means one of these:
- you want to run coding agents such as Codex CLI, Claude Code, or Gemini CLI on a VM you control
- you already have code, credentials, or tools installed on a VM
- you need to start a remote worker that will keep running after the SSH kickoff
- you want one predictable Linux environment for agents, deploy scripts, or background jobs
- you do not want the setup to depend on a specific hosting vendor
If all you need is a quick API call, SSH is often unnecessary. If you need to run real server-side work on your own infrastructure, SSH is usually the simplest bridge between Breyta and that machine.
Get the Host Side Working First
Before you touch the Breyta side, make sure you already have:
- a Linux VPS or VM with a public IP or DNS name
- an SSH user you can log in as
- a private key that succeeds in a direct SSH test
- a provider firewall rule that allows SSH on the right port
- a verified
known_hostsentry for that host - the minimum tools your remote job needs, such as
gitorcurl
If any one of those is missing, the Breyta setup usually fails for reasons that look like product issues but are really host setup issues.
What Kind of Server Works With Breyta SSH?
Breyta does not care much whether the machine is called a VPS or a VM. It cares that the machine behaves like a predictable Linux server you control. That can be either:
- a VPS from a hosting provider
- a VM from a cloud provider
For Breyta, the practical difference is usually small. The important part is that the machine has:
- Linux
- reachable over SSH
- a stable hostname or IP
- a user account with SSH access
- a private key you can store in Breyta
- a matching
known_hostsentry - outbound HTTPS if it needs to call Breyta back after a long-running job
Shared hosting is usually the wrong fit. You want a normal Linux server where you control the user, SSH keys, installed tools, and background processes.
Choosing a Provider
If you are starting from zero, do not overthink the provider. Pick the one that makes it easy to get a plain Linux server with a public IP and lets you inject your SSH key during setup.
Three reasonable places to start are:
- Hetzner Cloud if you want a straightforward self-managed cloud server. Hetzner also has a direct create a server guide.
- Hostinger VPS Hosting if you want a simpler VPS-oriented buying experience with a consumer-style control panel.
- Google Cloud Compute Engine if you already use Google Cloud or want deeper IAM and networking control. Google also documents how to create and start a Compute Engine instance.
The provider matters less than the early provisioning choices:
- choose a plain Linux image
- add your SSH public key during creation if the provider supports it
- keep the machine on a stable public IP or DNS name
- enable backups or snapshots
- avoid changing SSH user names between environments
How Much VPS or VM Do You Need for Breyta SSH?
For a first Breyta SSH setup, start small:
- Ubuntu 24.04 LTS or Debian 12
1-2 vCPU2-4 GB RAM40+ GB SSD- a public IPv4 address
- backups or snapshots
That is enough for smoke tests, server-side automation, and many SSH-based flows. If you later run browser automation, indexing jobs, or heavier agents, you can scale up.
You can always resize later. What slows most first setups down is not lack of CPU. It is avoidable complexity.
Keep the first setup boring: use a plain Linux image, inject your SSH public key during provisioning if the provider supports it, keep a stable public IP or DNS name, enable snapshots, and stick to one stable SSH user.
When to Use Sync SSH vs SSH Plus Callback
The right pattern mostly depends on how long the remote command runs.
Use sync SSH when the remote command is short and you can wait for it to finish.
Good examples:
uname -apwd- a small deployment script
- a service restart
- a quick diagnostic command
Use async SSH plus callback when the job can run for minutes or longer.
Good examples:
- coding agents
- test suites
- scraping jobs
- repository analysis
- long-running background workers
That pattern is usually:
- Breyta starts the job over SSH.
- The remote worker keeps running on the VM.
- Breyta waits in a
:waitstep. - The remote worker POSTs the result back to Breyta.
One common example is a coding-agent flow. Breyta connects to the VM over SSH, starts a detached Codex CLI, Claude Code, or Gemini CLI worker against a repository on that machine, waits in a :wait step, and then receives the final status or result through a callback. That is much more reliable than trying to hold one SSH session open for the entire job.
Set Up SSH on the VM First
Do these steps before you create connections in Breyta. They give you a known-good baseline.
1. Create a dedicated SSH key if you need one
If you do not already have the right key pair, create one locally:
ssh-keygen -t ed25519 -f ~/.ssh/breyta_vm -C "breyta-ssh"2. Create or choose a Linux user
You can keep the provider default user, but a dedicated user is often cleaner:
sudo adduser breyta
sudo usermod -aG sudo breyta
Install your public key for that user:
sudo install -d -m 700 -o breyta -g breyta /home/breyta/.ssh
sudo tee /home/breyta/.ssh/authorized_keys >/dev/null <<'EOF'
ssh-ed25519 AAAA... your-key-comment
EOF
sudo chown breyta:breyta /home/breyta/.ssh/authorized_keys
sudo chmod 600 /home/breyta/.ssh/authorized_keys
3. Open inbound SSH
In your provider firewall or security group, allow inbound SSH on port 22 or on the port you actually use.
Safer options:
- only allow your office or VPN egress IPs during setup
- use a bastion or VPN
- use provider SSH forwarding features when available
4. Test direct SSH with the exact key file you will store in Breyta
This is one of the most important checks in the entire setup:
ssh -i ~/.ssh/breyta_vm breyta@<HOST> 'uname -a'Do not continue until that succeeds.
Important:
- use the same private key file here that you plan to store in Breyta
- do not rely on whichever key your local SSH agent happens to pick automatically
If the wrong key happens to work through your agent, you can think the setup is correct while Breyta later fails with the actual stored key.
5. Capture known_hosts
Create a local known_hosts file:
mkdir -p ./tmp
ssh-keyscan -H -p 22 <HOST> > ./tmp/ssh-known-hosts
Then verify the fingerprint:
ssh-keygen -lf ./tmp/ssh-known-hostsand on the VM:
sudo ssh-keygen -lf /etc/ssh/ssh_host_ed25519_key.pubOnly continue when those fingerprints match, or when they match the fingerprint shown by your VPS or cloud provider.
Wire the VM Into Breyta
Once direct SSH is working with the exact key you plan to store, the Breyta side is mostly configuration.
This is the point where many setups go sideways: the host works locally, but the values stored in Breyta do not match what was tested by hand. Keep that mental model simple. You are not creating a second setup. You are copying a proven one.
1. Make sure your flow or copied template exposes the right slots
The flow needs:
- one SSH connection slot, often
:vps - one secret slot for the private key
- one secret slot for
known_hosts - optionally one secret slot for a passphrase
Example:
{:requires [{:slot :vps
             :type :ssh
             :label "VPS (SSH)"}
            {:slot :ssh-private-key
             :type :secret
             :secret-ref :ssh-private-key
             :label "SSH private key"}
            {:slot :ssh-known-hosts
             :type :secret
             :secret-ref :ssh-known-hosts
             :label "SSH known_hosts"}
            {:slot :ssh-key-passphrase
             :type :secret
             :secret-ref :ssh-key-passphrase
             :label "SSH key passphrase"
             :optional true}]}
2. Store the SSH secrets in Breyta
The commands below assume your breyta CLI already has default API, workspace, and token settings configured.
Use @/absolute/path or @./relative/path for multiline file content:
breyta \
  flows configure <FLOW_SLUG> \
  --set ssh-private-key.secret=@$HOME/.ssh/breyta_vm \
  --set ssh-known-hosts.secret=@./tmp/ssh-known-hosts
If the key has a passphrase:
breyta \
  flows configure <FLOW_SLUG> \
  --set ssh-key-passphrase.secret=@./tmp/ssh-key-passphrase.txt
3. Create the SSH connection
breyta \
  connections create \
  --type ssh \
  --backend ssh \
  --name "My VPS (SSH)" \
  --config '{
    "host":"<HOST>",
    "port":22,
    "username":"breyta",
    "auth":{
      "type":"private-key",
      "secret-ref":"ssh-private-key",
      "passphrase-secret-ref":"ssh-key-passphrase"
    },
    "known-hosts":{"secret-ref":"ssh-known-hosts"}
  }'
Save the returned connection id.
Optional preflight:
breyta \
  connections test <CONNECTION_ID>
That confirms health and config state. It is useful, but it is not a real execution proof.
4. Bind the connection to the flow
breyta \
  flows configure <FLOW_SLUG> \
  --set vps.conn=<CONNECTION_ID>
Then check the configuration:
breyta \
  flows configure check <FLOW_SLUG>
If the slot name is not vps, bind the slot your flow actually uses.
5. Prepare the first release if this is a brand-new flow
If the flow has no active version yet and it uses required slots, prepare the live target too:
breyta \
  flows configure <FLOW_SLUG> \
  --target live \
  --version latest \
  --set vps.conn=<CONNECTION_ID>
Then check it:
breyta \
  flows configure check <FLOW_SLUG> \
  --target live \
  --version latest
This matters because a brand-new flow can return no_active_version on flows run, and a first flows release <FLOW_SLUG> can fail with live_config_incomplete if the live target was never prepared.
Run the Smallest Possible Smoke Test
Start with a boring command:
echo hellouname -apwd
Do not start with your full agent, deploy script, or long-running worker. First prove that the SSH path itself works.
If the flow accepts a command input:
breyta \
  flows run <FLOW_SLUG> --wait \
  --input '{"command":"uname -a"}'
If that returns no_active_version, create the first release:
breyta flows release <FLOW_SLUG>If your flow does not expose a freeform command input, use the smallest safe manual trigger input it supports.
What Long-Running Jobs Need
For longer jobs, the VM needs more than a working SSH login.
It may also need:
gitcurl- your language runtime
- package managers
- repository credentials
- cloud or provider CLIs
nohup,tmux, orsystemd
And for callback-based jobs, the VM must be able to reach Breyta over HTTPS:
curl -I https://flows.breyta.aiIf that fails, the remote worker may start correctly and still never complete from Breyta’s point of view.
For coding-agent setups in particular, this is usually where the real environment work lives: the repository checkout, language runtimes, package managers, repo credentials, model/provider auth, and any helper CLIs the agent needs. Breyta handles the orchestration around that machine. The VM still needs to be ready to do the work.
One common source of confusion is shell environment drift. SSH sessions started by automation may not load the same shell profile as an interactive login. That can show up as missing PATH entries, missing nvm or pyenv setup, or commands that work in your terminal but fail from Breyta. If that happens, check what your remote command actually gets in a non-interactive session.
Common Mistakes When Setting Up a VPS or VM for Breyta SSH
- testing SSH locally with one key, then storing a different key in Breyta
- trusting your SSH agent instead of testing the exact key file you will upload
- skipping host fingerprint verification
- assuming
connections testproves end-to-end execution - releasing a brand-new flow before live bindings are prepared
- using shared hosting instead of a normal Linux server
- modeling long-running work as one sync SSH command
FAQ
Can I use a VPS or do I need a cloud VM?
Either is fine. Breyta only needs a reachable Linux machine with SSH access and a predictable runtime.
Can I use Hetzner, Hostinger, or Google Cloud with Breyta SSH?
Yes. Breyta is not tied to a single VPS or cloud vendor. If the server is a normal Linux machine with a public IP or DNS name, SSH access, and the right key material, it can work.
Can I use password-based SSH auth?
You can, but key-based auth is the better default. It is easier to reason about, easier to rotate, and usually safer.
Do I need a public IP or public DNS name?
Usually yes. Breyta environments commonly block SSH targets that resolve to private IPs.
Can I connect Breyta to a private VPC IP?
Usually not directly. The simpler external-facing setup is a public IP or DNS name. If you need private networking, you usually need extra routing infrastructure such as a bastion, VPN, or another controlled ingress path.
Is breyta connections test enough to prove the setup works?
No. It is a useful preflight, but the real proof is a small SSH-backed flow run.
Why does flows release fail on a brand-new flow with required slots?
Because the live target for that version has not been configured yet. Use:
breyta \
  flows configure <FLOW_SLUG> \
  --target live \
  --version latest \
  --set vps.conn=<CONNECTION_ID>
before the first release.
What is the easiest way to avoid SSH surprises in Breyta?
Use the same three things consistently everywhere:
- the same host
- the same user
- the same key file
If your direct SSH test uses one key and Breyta stores another, the setup is not actually proven.
The Pattern to Remember
Breyta SSH works best when you treat it as a copy of a setup you have already proven by hand. Get direct SSH working with the exact key you plan to store, verify known_hosts, bind the same host, user, and key into the flow, and smoke test with the smallest possible command. Once that path is solid, moving up to deployment scripts, long-running agents, and callback-driven workers is much simpler.